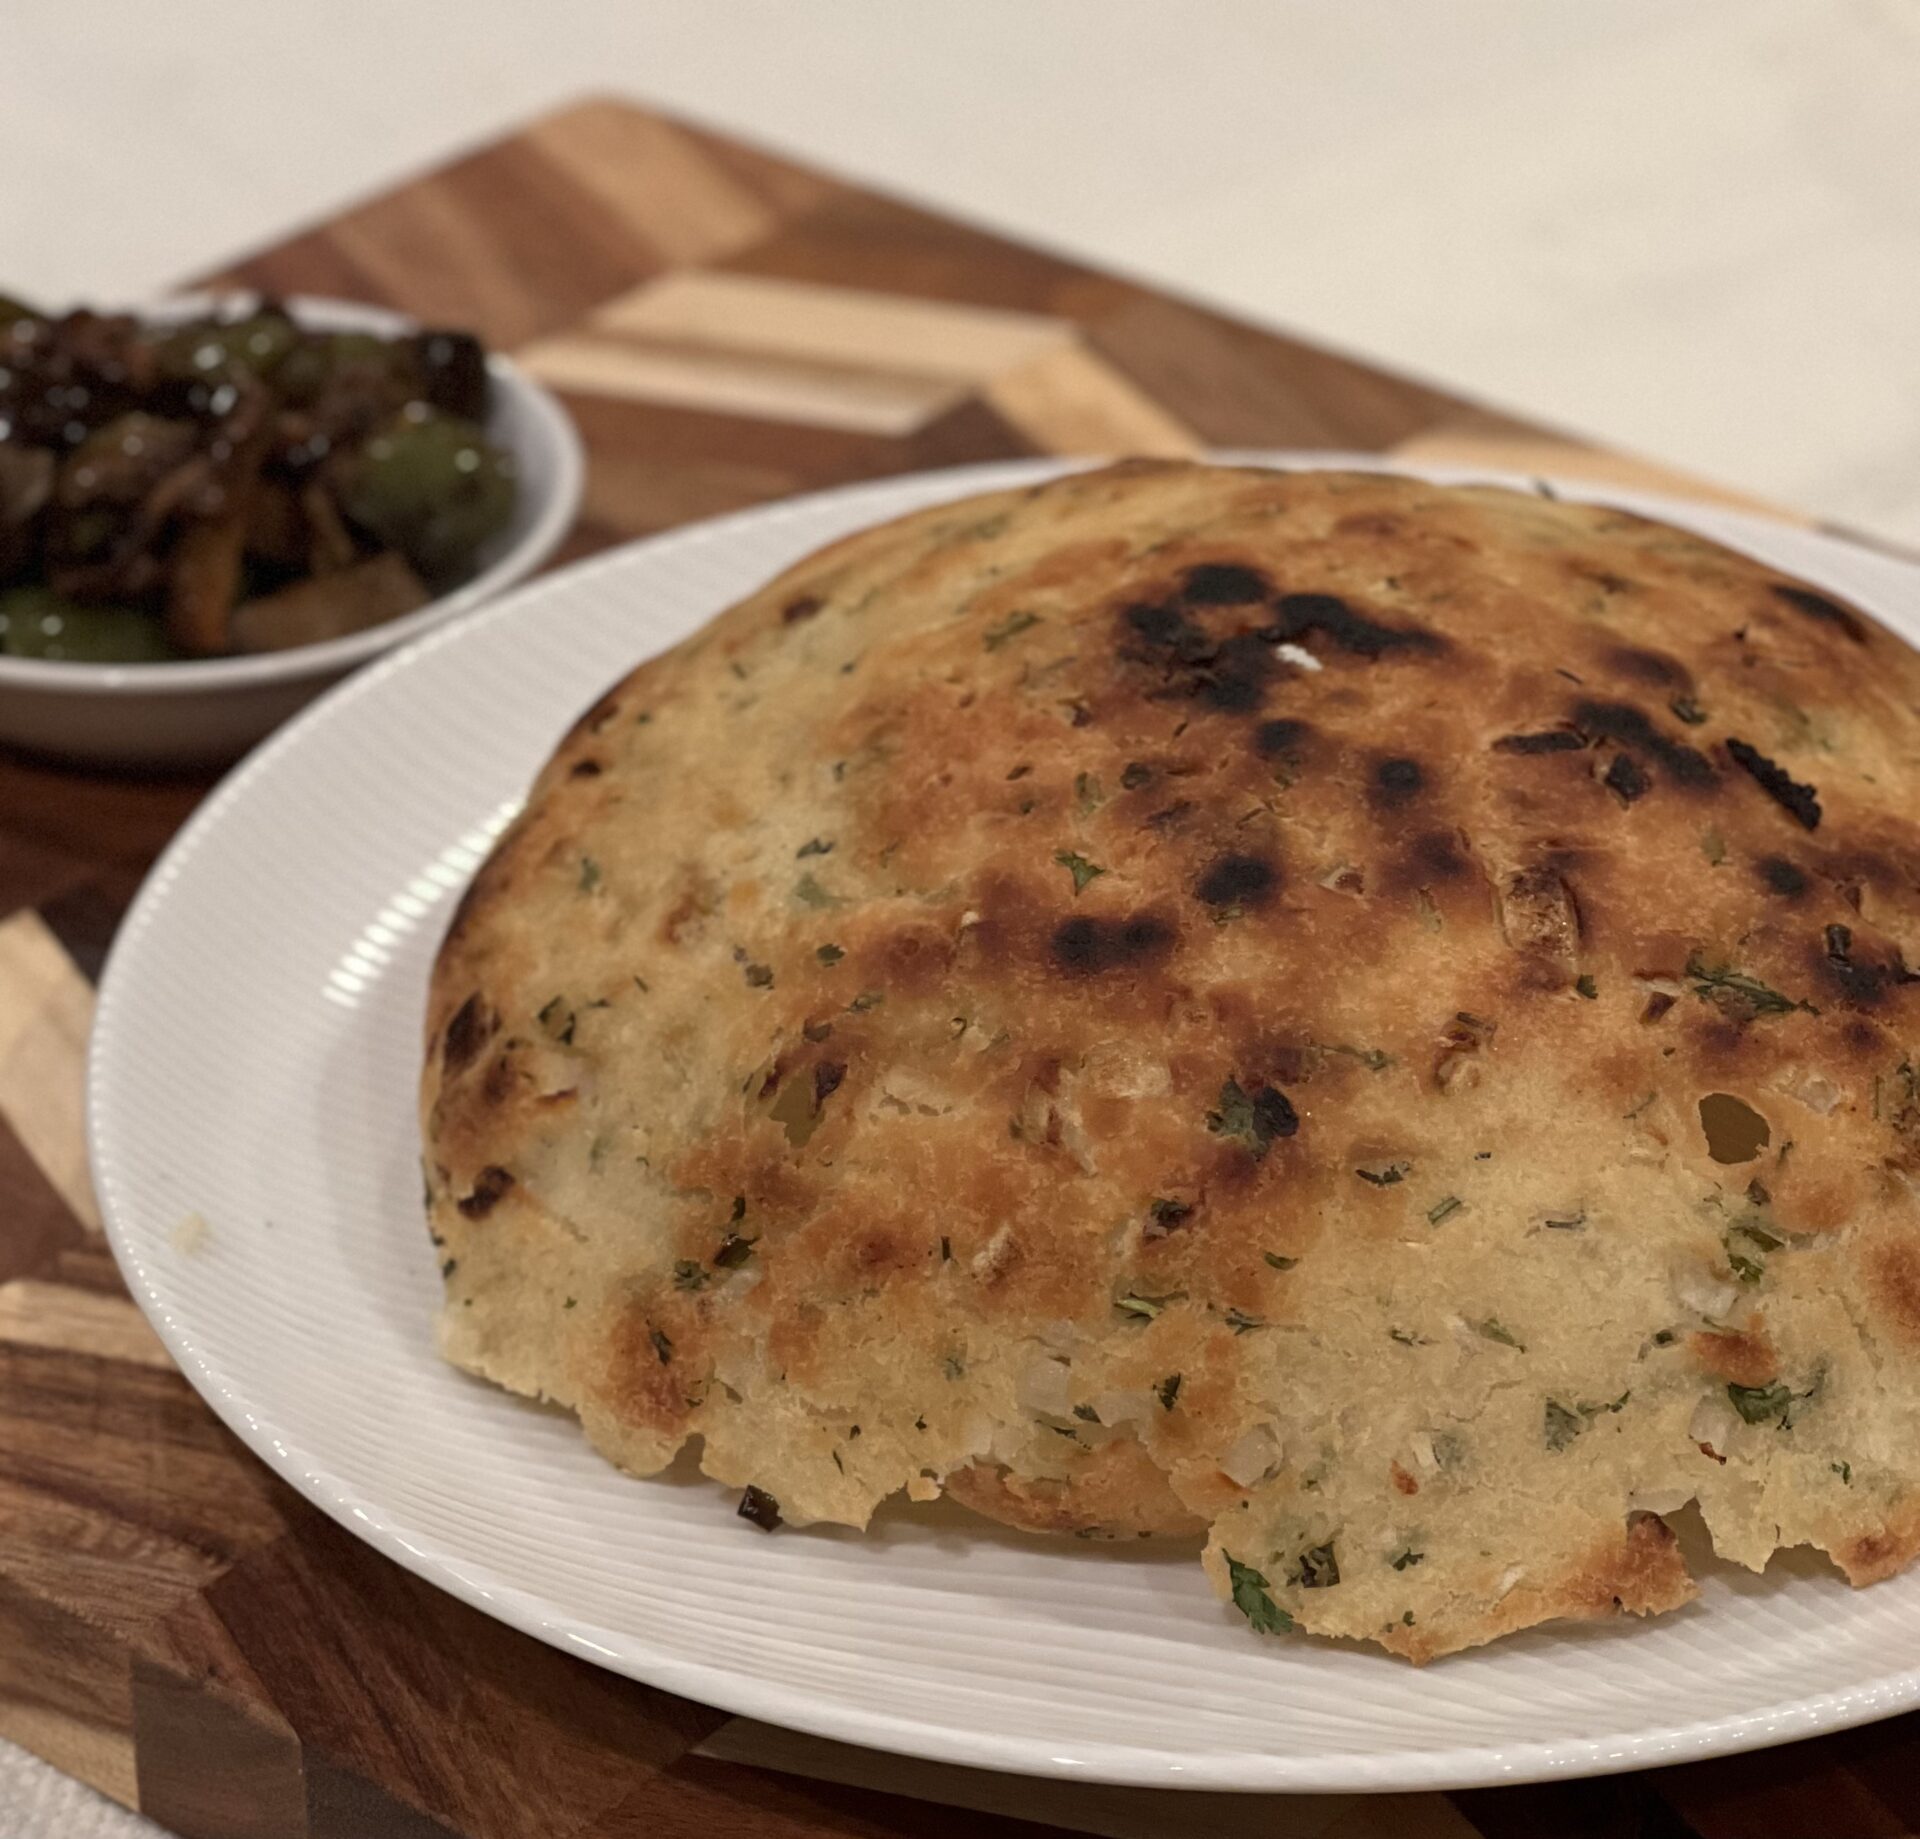
Akki roti is unique to Karnataka. It is a crunchy, hand shaped roti made with rice flour, onions, herbs, and spicy green chillies. It is easy to make once you understand the technique to making them. I have included additional pictures in this recipe to help you understand how to make the dough and spread it in the pan correctly.
Akki Roti
Ingredients
- 2 cups Rice Flour
- 1 Tsp Salt to taste
- 1 medium Onion
- 1 small bunch Cilantro
- 2-3 Green chillies to taste
- 2 Tbsp Butter (or butter substitute) at room temperature
- 2 Tbsp Fresh grated coconut or Frozen fresh grated coconut
- 4-5 Tsp Vegetable Oil
- 1 cup Water
Equipment
- Kadai or non stick skillet
Instructions
Prepare the dough
- Chop onions, cilantro, and green chillies finely.
- Thaw the coconut if you are using the frozen variety
- In a large bowl mix all the ingredients except water and oil until evenly combined. Work the butter into the flour with your fingers until it is evenly distributed.
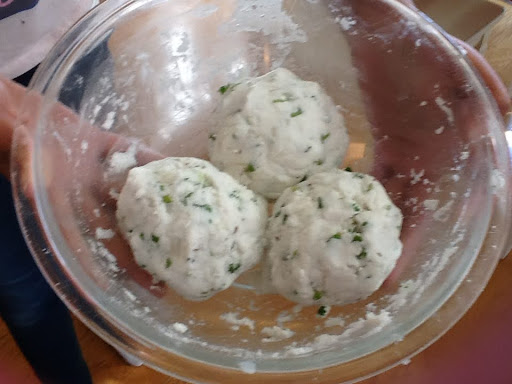
- Add a little water at a time while gently mixing with your fingers until the dough gathers into a ball. The dough should be soft enough to hold a thumb print when pressed gently without being crumbly or wet. Add a little more water and mix again if the dough is too dry. If it is too wet, add some more rice flour.
- Cover and set aside for 20 minutes for the flavors to blend and develop.
To make the roti
- Check the consistency of the dough and adjust with rice flour or water if necessary.
- At this time, you can portion the dough into individual balls depending on the size of the pan you plan to use. You can cook more than one akki roti at time by using several kadai or skillets in parallel.
- For a 9" kadai or skillet, start with a tennis ball sized portion of dough.
- Start with a cold (room temperature) kadai or skillet before you start making each roti.
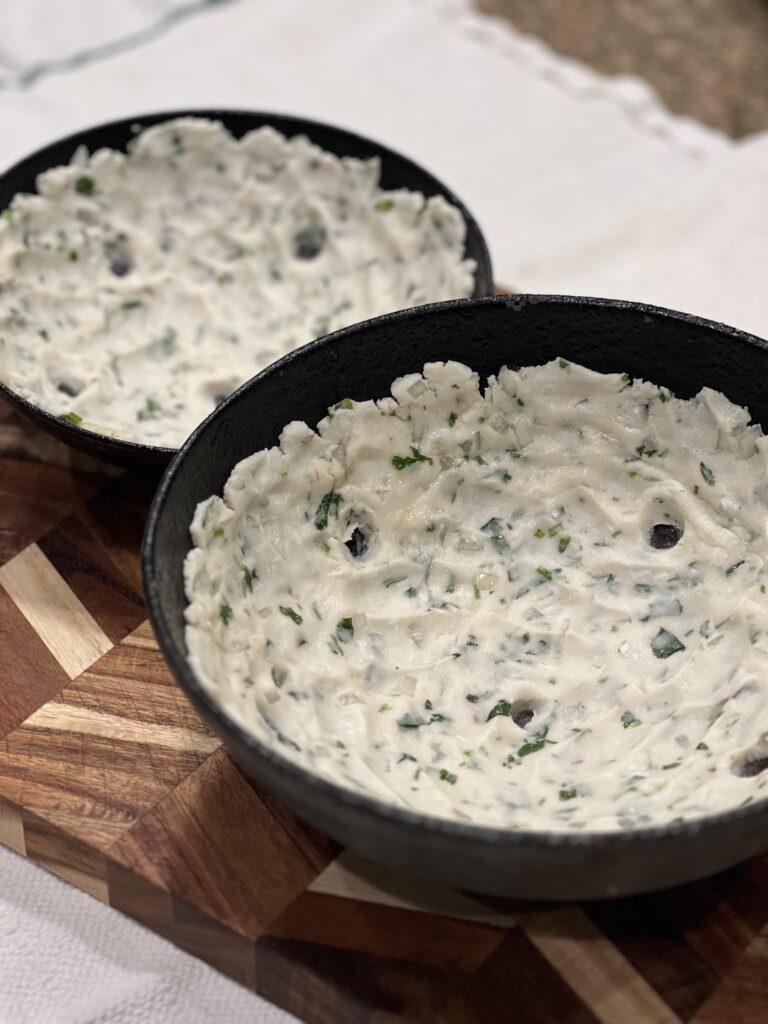
- Pour 2 tsp oil into the cold kadai and place the ball of dough in the center.
- Working with the back of your fingers, work the dough into an even layer on the kadai. Work the dough up the sides of the kadai and continue to distribute the dough until it is about 1/4 inch thick evenly. It is ok to see indentations of your fingers on the top of the roti. They actually help the akki roti have pockets of crispy and crumbly bits after they are cooked.
- Make 5-6 holes in the roti with your finger and spoon a few drops of oil into each hole.
- Spoon another tsp of oil carefully all around the sides of the roti.
- Cook over medium/medium low heat, rotating the pan gently every minute or so. If any dry spots form, spoon a couple drops of oil on to the dry spots, tilt the pan to let oil distribute evenly.
- When the roti separates from the pan and begins to turn golden brown, gently check if the underside is evenly cooked. It is normal to have crispier spots around the holes.
- Turn over onto a plate and serve with fresh butter, ketchup, or bell pepper palya.
- Before using the kadai to make the next akki roti, run cold water from a tap on the underside of the kadai to cool it down completely.
Notes
- Akki roti requires some fat in the dough, so do not skimp on the butter. You can use a vegan butter substitute with almost similar results.
- It is important to start with a pan that is at room temperature for each roti. The dough will not spread if the pan is even a little warm. An easy way to get the pan cold without running water on a hot non stick surface is to douse the under side of the pan with tap water.
- The technique to spreading the dough in the pan will require a little practice at first, but once you figure out how to use the backs of your fingers, it becomes very simple. The results are worth it!
- You can use a combination of herbs, such as dill, parsley, and methi.
- You can substitute onions with scallions, or just double the herbs and skip the onions altogether.
- Akki roti is best served hot. It cannot be cooled and reheated without losing its crunchiness.
- Akki roti dough can be stored in the refrigerator for a maximum of two days.